
Wild West Pioneers Industry Buildings
Warehouse rings, timber, planks, and the scout cabin — the plots that make every other building possible.
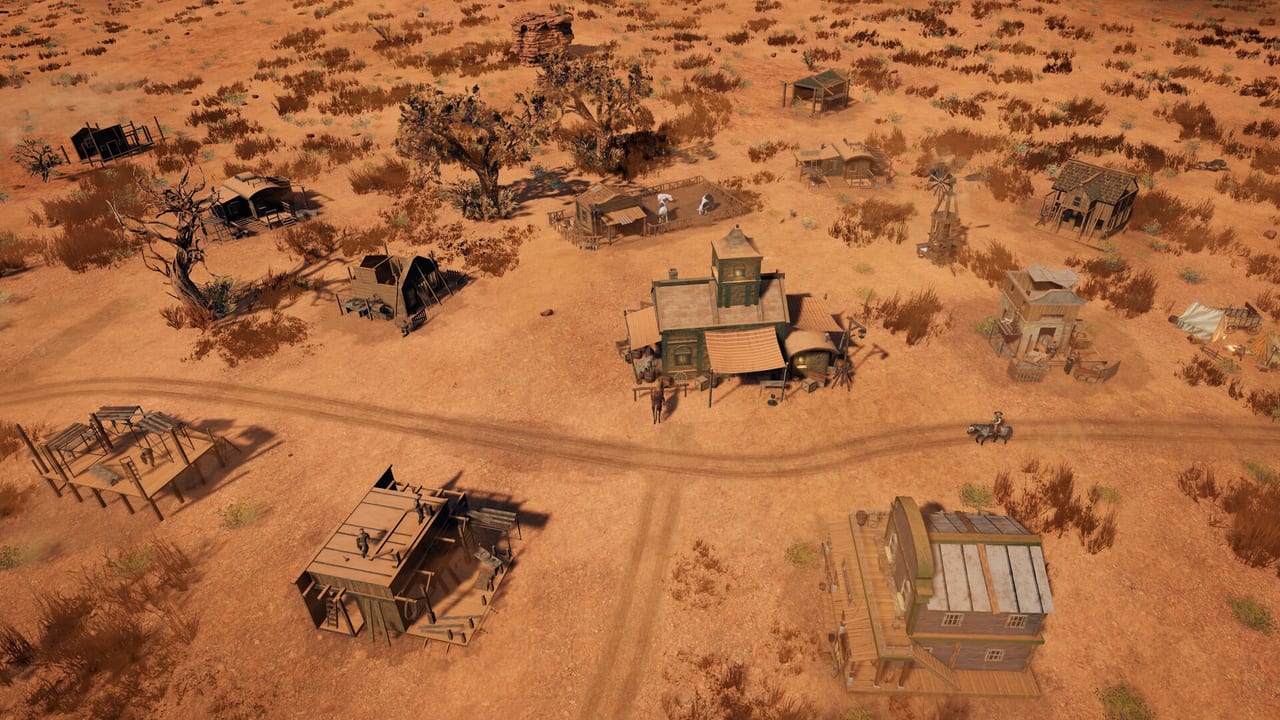
Industry is where Wild West Pioneers towns actually live or die. Housing can look finished and food can sit in a hunter’s inventory, yet nothing moves until a warehouse owns the walk. This page ranks the production and logistics plots: warehouse, logger’s cabin, sawmill, scout cabin, worker camp, water tank, roads, bridges, transport hubs, and the later railroad prep the studio has talked about. It does not invent tool forges, brickworks, or 1.0 factories. Early Access is scheduled for 25 September 2026; the February 2026 Steam demo listing is the evidence.
Cross-check housing buildings for the plank sink that cabins become, and food buildings for the distillery’s wood bill. The parent buildings hub is the short S/A/B/C card. The production chains guide is the walk-through version of the same loop.
Warehouse: S-tier, first industrial click
The warehouse stores goods and assigns porters between plots. Tutorial copy is blunt: production without a warehouse is pointless. Marked rings around the building show how many workers a connection needs. Shorter walks need fewer people. That single rule outranks almost every other industrial trick.
Place the warehouse before the logger, not after. Drop it where trees, wildlife, and the future mill can all share a ring, usually near the Town Hall without sitting on the residential water. If you guess wrong, move it from the building panel; do not found a second warehouse to hide a bad first one. Extra warehouses are a late scaling tool, not an opening-hour solution.
Staff the porters. An empty warehouse is a box. The settlers guide covers assignment; this page only repeats that S-tier status assumes workers are actually in the building.
Logger’s cabin: S-tier timber
Timber is the early currency. The logger’s cabin should sit on trees and inside a warehouse ring. Closer is better. A logger on a pretty hill with no warehouse is a woodsman on holiday.
Add a second cabin when the first ring is busy and the sawmill is hungry, not because the build menu feels empty. Loggers will eat a forest; leave a path so you can move the cabin when the overlay of remaining trees thins. Placement colors still apply: blue is good, yellow means you are fighting another resource footprint, red is invalid. Confirm only blue.
Sawmill: B-tier until cabins exist, then it gates the town
The sawmill turns logs into planks. Wooden cabins, the distillery, and the saloon all wait on that conversion. The buildings hub parks it in B because a tent town can breathe without planks for a short window. The moment you want cabins or bourbon, the mill is the gate.
Do not starve it. If every log is queued into a far storage trip, the mill idles and housing stalls. Keep the mill in the same warehouse neighborhood as the loggers. One mill that receives wood beats two mills you cannot feed. Unlock order in the demo often sits behind the same talent track that opens wooden cabins; spend the point when tents are already on water, not before the first hunter works.
Scout cabin: B-tier map access
The scout cabin (Scout’s cabin in some menus) is how you leave the first valley. Unlock it, place it, then run the expedition flow: select the expedition, click a location on the world map, press Explore. That click order is easy to fumble; the expeditions page and the controls page both repeat it.
Rank scouts B, not S. Dust Creek can stand without a scout. The story about missing family, extra resource sites, and later caravan links cannot. Do not delay the cabin until the town is “finished”; finish S-tier food and timber, then spend the talent. A scout cabin with no warehouse still needs porters for its own upkeep, so park it inside a ring instead of on a decorative ridge.
Worker camp, water tank, settler base
These three are support industry, not opening S-tier. The worker camp is extra labor capacity once the unlock track offers it. The water tank extends what the well started for thirsty plots. The settler base is a confirmed roster building that belongs with camps more than with tents. Build them when the Trail Camp / Dusty Village nodes actually open the rows, and only if S-tier rings are already staffed. They are easy to misread as “more town” when they are really “more overhead.”
Roads, bridges, transport hubs, caravans
Roads are free-form. They should follow warehouse rings and house clusters, not the other way around. A highway into empty lots is a C-tier delay. Bridges matter when the river you founded on becomes a wall; they are still C on day one because a bridge with no mill behind it is a postcard.
Transport hubs and caravans show up once you think in multiple sites instead of one street. Rank them with late logistics. They do not replace the first warehouse. When the world map starts linking settlements, hubs earn their keep; until then, one well-rung warehouse outruns a wagon fantasy.
Railroad prep is a later promise, not a demo factory. Do not grade rail yards, depots, or 1.0 trains. If a later Early Access build makes track placeable, it starts unranked on this page until someone can stall a town by skipping it.
Suggested industrial order
- Town Hall (civic, listed on the hub), then warehouse.
- Logger on trees, inside the ring.
- Hunter on wildlife (food list) using the same warehouse.
- Sawmill when tents are stable and cabins are the next unlock.
- Scout cabin after timber and food no longer panic every morning.
- Worker camp / water tank when the node is real and workers exist.
- Bridges and hubs when a second site actually needs them.
That sequence is the same spine as getting started and first settlement. Invert it — scout first, mill first, or a decorative bridge first — and you will own a viewpoint and no planks.
What industry is not
It is not a multiplayer supply war. Wild West Pioneers is single-player. It is not a license to fill the valley with every grey menu row. Locked hospitals and unshown factories stay off this list on purpose. The building list is the confirmed roster; if a name is missing there, it is missing here.
Industry also is not cosmetics. Fences and instruments are C-tier on the hub and they steal plank budget from the mill. Build them after the ring works.
For the listed demo’s click path, use the demo walkthrough. For dates, use Early Access notes and the playtest page. For the rest of the wiki, the guides hub and tools hub sit beside this rank. Official store links live on links.
The industrial test after a bad night is simple: if logs never arrive, the warehouse walk is too long. If planks never appear, the mill is unstaffed or unfed. If the world map never opens, the scout cabin is missing or the Explore click never happened. Fix that triangle before you found a second valley. Railroad sketches can wait until a later build actually hands you track, not until a loading screen teases a locomotive.
Frequently Asked Questions
Quick answers for settlers heading west.
Why is the warehouse ranked above the logger?
Loggers produce nothing useful without porters. Place the warehouse first, then sit the cabin inside its ring. The buildings hub treats both as S-tier, with the box first.
When is the sawmill worth building?
When you are ready for wooden cabins or the distillery. Tents can wait a short window; every upgrade after that is plank-gated.
How do scout expeditions start?
Build the scout cabin, select an expedition, click a map location, press Explore. Details are on expeditions.
Should I build extra warehouses early?
Usually no. Move the first warehouse if the rings are wrong. Extra boxes are for later distance, not for hiding a bad first plot.
Are railroads in the current demo?
Railroad prep is a later promise. This page does not rank rail yards. See Early Access notes for scope instead of guessing track.
Where do worker camps fit?
After S-tier timber and food. They add labor, not a new production chain. Pair them with the building list so you do not confuse camps with houses.