
Wild West Pioneers Buildings Hub
S through C priorities for the first frontier town, based on the demo and store footage.
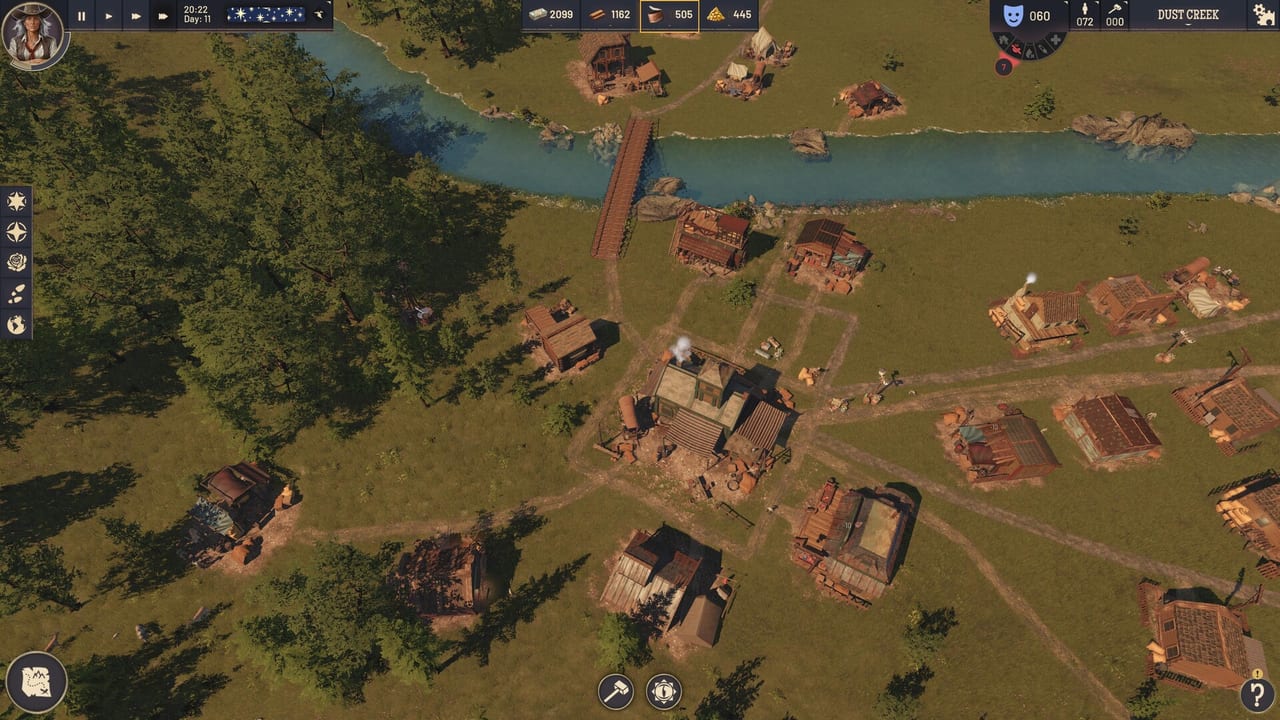
This hub ranks Wild West Pioneers buildings the way a city builder should be ranked: by how quickly they stop a town from stalling. It is not a PvP list and it is not a rarity chart. EmpireCraft Studios and Toplitz Productions still have Early Access scheduled for 25 September 2026 on Steam, GOG, and the Epic Games Store (Windows, single-player). The Steam demo was listed in February 2026, and that build is the main evidence for the grades below.
Use the three child lists together. Housing buildings cover tents, cabins, wells, and the church. Food buildings cover hunters, the food shop, butcher, corn ranch, distillery, and saloon. Industry buildings cover the warehouse, logger, sawmill, scout cabin, camps, and roads. The complete building list is the roster without grades. Pair any of those pages with the first settlement checklist and the production chains walkthrough so placement and rank stay in sync.
How these grades work
S means you feel the stall within minutes if the building is missing. A means settler mood or water access starts slipping the same day. B means the town still functions, but planks, scouting, or upgrades take longer. C means the building is real and useful, yet it should wait until the core loop is stable. Grades use store footage, the listed demo, and public play sessions. They do not invent late factories, tool forges, or railroad yards that have not been shown as placeable.
A second rule: a high grade is not a license to spam copies. One warehouse in the right spot beats three warehouses that force porters to walk the long way. One hunter cabin on wildlife beats two cabins on empty grass. The overlays and placement colors on the controls page exist so you can see those mistakes before you confirm the plot.
S tier: the town cannot start without these
Town Hall. Civic anchor and the building the tutorial wants down first. Pause, day count, and the rest of the HUD make more sense once the hall exists. You do not need a second hall in the opening hours.
Warehouse. Stores goods and assigns porters. Marked rings around the warehouse show how many workers a link needs; shorter walks need fewer people. Logging, hunting, and the sawmill are dead weight until this box exists nearby. Rank it as the first industrial click, not as decoration.
Logger’s cabin. Timber is the early currency for almost every other plot. Place it on trees, keep it inside a warehouse ring, and add a second cabin only after the first ring is busy rather than idle.
Food production (hunter cabin plus food shop). Hungry settlers leave. The hunter cabin pulls game from wildlife overlays; the food shop is the civic counter that actually hands meals to homes. Treat the pair as one S-tier need even though they are two plots. Details live on the food buildings page.
If you only remember four clicks from this hub, remember those four. The getting started guide walks the same order in the first hour.
A tier: mood, water, and a roof
Housing (tents, then wooden cabins). Tents need the water overlay. Cabins are the comfort upgrade once planks exist. Homeless pioneers stall growth even if warehouses are full. Read housing buildings before you paint a residential street that sits on dry ground.
Well. Early water for tents and other thirsty plots. One well in the right basin is worth more than a decorative ring of wells on a ridge.
Saloon. Delivers bourbon to homes once the distillery chain is running. Homes start asking for it as a whim; ignore that request too long and mood drops even if meat is stacked. The saloon is A, not S, because you can found the town without it, but you cannot keep Dust Creek cheerful without it.
Settlers, wishes, and why people pack up are covered in settlers and happiness. Housing and saloon grades assume you will actually staff those buildings, not just place the model.
B tier: planks, scouts, and the second wave
Sawmill. Turns logs into planks. Cabins, the distillery, and the saloon all wait on that conversion. It is B because a town can live on tents and raw timber for a short window, but every upgrade after that window is plank-gated. Do not starve the mill by letting every log sit in a far warehouse.
Scout cabin. Unlocks expeditions. Select a mission, click a map location, press Explore. That is how you leave the first valley and open the world map. It is B because the first settlement can stand without a scout, yet the campaign story and extra sites will not. Timing and click order sit on expeditions and in the industry list.
Worker camp, water tank, settler base. Support plots that show up once the trail-camp unlocks start opening. Useful, not opening-hour mandatory.
C tier: charm after the loop works
Decorations — benches, pets, instruments, fences, scarecrows — fulfill wishes and make streets look like a town. They are C because a bench never replaces a warehouse. Build them from the decoration/wishes panel after food, water, and roofs are stable.
Church. A later civic building for mood, not a substitute for meals. Rank it with other comfort plots, not with the Town Hall.
Bridges, extra roads, transport hubs, caravans. Real, and they matter once you stitch valleys together. They are C on day one because a bridge with no warehouse behind it is a pretty delay. Railroad prep is a later promise, not a demo-grade factory. Do not plan a 1.0 rail network from this list.
How to use the three lists in one session
Open this hub, then keep the matching child page beside the building list. When you found a river site, follow S-tier industry first, drop tents on water, then hang food on wildlife. When homes start asking for bourbon, jump to the food list instead of guessing a new factory. When you need planks or a scout, jump to industry. The demo walkthrough is the linear version of the same advice.
If a building is missing from every list, it is missing on purpose. Menu rows that sit behind “wait for a later build” are not graded here. Early Access is expected to add biomes, more upgradable buildings, and extra settlements on the world map; this wiki will re-rank when those plots are actually playable. Until 25 September 2026, treat S as warehouse plus hall plus logger plus food, A as housing plus well plus saloon, B as sawmill plus scout, and C as cosmetics and extra roads.
Read the Early Access notes and the playtest page before you assume a locked hospital or a railroad yard is one talent point away. For camera, overlays, and the blue/yellow/red placement colors that make these grades practical, use controls. For the full guide set, start at the guides hub. Official store and social links sit on links.
Keep this hub as the short memory aid: S stops the stall, A keeps people home, B opens planks and the map, C waits. The child pages exist so you can argue placement without re-reading the same four sentences. When the 25 September 2026 build adds a plot we have not seen, it starts unranked until someone can starve a town by skipping it.
Frequently Asked Questions
Quick answers for settlers heading west.
Is this a PvP or unit tier list?
No. Wild West Pioneers is a single-player city builder. Grades measure how fast a missing building stalls a town, not combat power.
Why is the warehouse S tier?
Loggers, hunters, and mills do not move goods without a nearby warehouse and porters. The industry list shows why distance rings matter.
Will Early Access change these grades?
Yes. Early Access is scheduled for 25 September 2026 and should add buildings the demo does not let you place. This hub will stay honest about what is unproven.
Where is the full roster without ranks?
The building list names every confirmed plot. Use it with this hub so you do not invent factories.
What should I build first in a new save?
Town Hall, warehouse, logger, then food and tents on water. The getting started guide follows that order.